Tuesday, 26 February 2013

Reclaiming the Fridge: Spinach and Broccoli Frittata


Sometimes you have a lot of eggs. It happens. Maybe you went a little crazy at the supermarket because who doesn't need three dozen eggs? Or maybe you have friends with chickens. Productive chickens. Or maybe both things happen at once and your fridge is overflowing with eggs and oh dear lord what should you do?!

Chill. It's cool. This is what frittata was invented for. Also, all those extra veggies you never seem to get around to using up? We've got you covered.


So relax. Crack out the skillet. Get a little crazy with some random vegetable combinations. Maybe even go wild with the Parmesan cheese. It will be awesome.


Recipe:
Spinach and Broccoli Frittata
8 eggs
1/2 cup milk
salt and pepper
1 medium-small onion, diced
1 head of broccoli, chopped fairly small
10 ounces spinach (fresh or frozen)
olive oil for sauteing


If your spinach is frozen, set it out to thaw a little while you're preparing everything else.

Saute the onion in a large, oven safe skillet until translucent and then add the broccoli. Let the broccoli cook for several minutes, stirring regularly. In a medium-sized bowled, beat the eggs until yellow and creamy and then add the milk. Season to taste with salt and pepper and set aside.

Once the broccoli has started to soften, turn the heat down and add the spinach to the skillet. If it is frozen, heat it until it has fully thawed and most of the excess moisture has evaporated. If it's fresh, you just want it to wilt slightly.

After giving them a final stir to make sure the milk is fully combined, pour the egg mixture into the skillet. Stir everything for the last time with a rubber spatula to ensure that the veggies are evenly distributed and then leave it alone for five minutes.

The eggs should now have started to set. Now finish off the frittata by broiling it for another 5-10 minutes. Check it after a few minutes and if the top is browning too quickly, turn of the broiler and place the skillet on a lower shelf in the oven. Check that the eggs have set all the way through by making a small cut in the center. If it's still wet and custardy, give the frittata another couple minutes in the oven.


When it's fully cooked, slice into wedges and enjoy!

Thursday, 21 February 2013

Kitchen Nirvana: Honey Whole Wheat Bread


You know what's beautiful? Bread. It's one of those glorious miracles of human civilization. With just a few ingredients and a bit of patience, we can harness the mighty powers of science.

I mean, how freaking awesome is yeast? Tiny bacteria that just need some sugar and a little private time and they'll do all the flavor-building, bubble-producing work? Yes please!


I love watching yeast dissolve into fluffy froth in warm water, boiling furiously just beneath the surface. I love the smell of honey and flour and the sticky satisfaction of a glossy, well-kneaded lump of dough.

Wafting on waves of oven warmth, the smell of freshly-baked bread fills the whole house, the homiest, most smile-inducing scent on earth.


And biting into the perfect, soft, ever-so-slightly sweet slice of bread is one of the simplest ecstasies I have ever experienced.


Recipe:
Honey Whole Wheat Bread
(recipe from allrecipes.com)

3 cups warm water
1/3 cup honey
4 1/2 teaspoons dried active yeast
5 cups all purpose flour

3 tablespoons melted unsalted butter
1 tablespoon salt
1/3 cup honey
2-4 cups whole wheat flour

2 tablespoons of melted butter


In a large bowl, combine the water, honey, and yeast and leave it to sit until frothy (usually 5-10 minutes). Now stir in the 5 cups of plain flour. Cover and set aside in a warm place for about an hour (or until it has become bubbly and has roughly doubled in size).


Add the butter, salt, and additional honey and stir to combine. Scatter two cups of whole wheat flour on a clean surface and tip the dough out onto it. Sprinkle roughly half a cup more of whole wheat flour over the dough and begin kneading. As the flour is combined with the dough, it will start to get sticky again. Add more flour, a little at a time, if the dough become unworkable but try to maintain a fairly sticky surface.


Place the dough in a large bowl and very lightly grease it by pouring a little oil in the bowl and turning the dough a few times until it is coated. Cover the bowl and let it rest in a warm place until the dough has doubled in size (about two hours).

Turn the dough onto a lightly floured surface and divide it into three pieces using a knife. Shape each third and place them in lightly greased loaf pans. Set the pans, covered, in a warm place for the final rise.


While the loaves are rising, preheat the oven to 350º F (170º C).

Bake in the lower third of the preheated oven for 25 to 30 minutes. Brush the tops with melted butter when they come out of the oven to prevent them from hardening.


Sunday, 17 February 2013

Juuust Right: Carrot Cake with Cream Cheese Frosting


Sometimes size matters. A lot.

Sometimes, a cupcake just won't cut it. Too much frosting heaped on a disappointing little nubbin of cake. No.


Then again, a full-sized cake can be a challenge. A cake that sits around, challenging everyone in the house to break the one-slice-a-day limit of the post-holiday season. A cake that gets a little bit more dry every day, pressuring you to eat more than you really want. And cake is a terrible thing to waste.


Never fear! The geniuses of bake ware design have actually thought of this problem. Hello, 7 inch cake pan. My ideal, not-too-big-not-too-small cake pan, perfect for the Goldilocks within.

So this carrot cake recipe is for a 7 inch pan (it's pretty much my--slightly adapted-- carrot cake muffin recipe, baked in a cake pan and slathered with cream cheese deliciousness. I might possibly have mentioned that carrot cake is my absolute favorite cake. Ever. And this one turned out pretty darn well. It's delicately spiced and filled with scrumptious raisins and slivers of carrots. The aromatic orange oil is delicious, cutting creaminess of the frosting but orange zest and a little juice will do just as well.

Recipe:
Carrot Cake with Cream Cheese Frosting
for a 7 inch cake pan

1 1/4 cups all purpose/plain flour
1 teaspoon baking powder
1/2 teaspoon salt
1 teaspoon cinnamon
1/2 teaspoon ground ginger
1/4 teaspoon nutmeg
2 eggs
1/2 cup granulated sugar
1/2 cup vegetable oil
1/2 teaspoon vanilla extract
1/4 teaspoon orange essence/oil
2 1/2 cups grated carrot
1/2 cup golden raisins


Preheat the oven to 350º F (180º C).

Whisk together the flour, baking powder, salt, and spices and set aside.

In a large bowl, beat the eggs thoroughly, until light and fluffy. Beat in the sugar and combine well. Add the oil, vanilla, and orange.

Now gradually fold in the flour mixture, stirring until just combined. Finally, add the grated carrots and raisins.

Pour batter into a greased pan and bake in the preheated oven for about 45-50 minutes or until a toothpick inserted in the center comes out clean.

Frosting:
1/2 cup (1 stick, 113 grams) unsalted butter
4 ounces cream cheese
1/3 cup superfine sugar
a couple drops of orange essence
a couple drops of vanilla extract

Cream the butter until it's light and fluffy. Add the sugar and thoroughly combine them before adding the cream cheese. Beat the mixture until it's all combined and has become smooth and then add the orange and vanilla.

When the cake has completely cooled, it can be iced. Store the iced cake in the fridge because the cream cheese in the frosting won't keep when at room temperature!


Thursday, 14 February 2013

Happy Valentine's Day: Truffles and Kitchen Magic


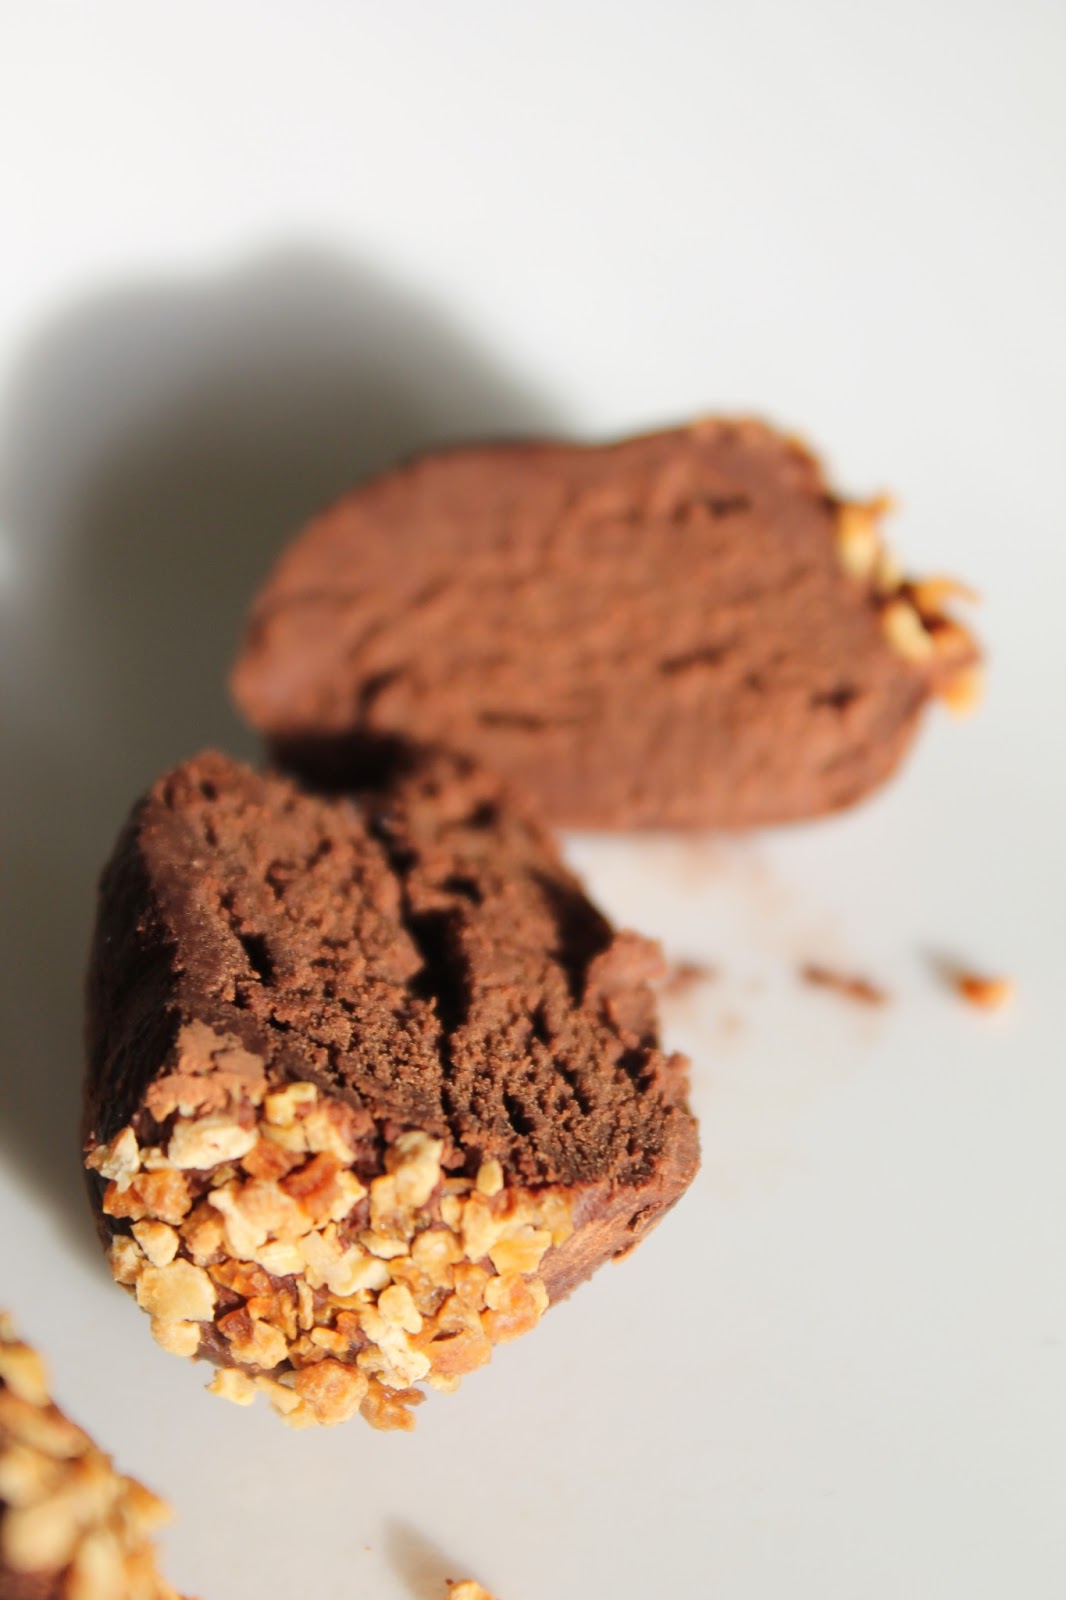
As does much of life, cooking sometimes happens incidentally, through a series of--occasionally unfortunate-- events. Sometimes your fridge breaks and you find yourself stuck with several pints of rapidly warming cream that you just can't let go to waste. Sometimes you end up throwing things in a pot, hoping it all works out in the end. And sometimes it does.


Cooking without a recipe can actually be one of the most relaxing and zen-like experiences. You're not bound by expectations-- fantastically unrealistic expectations based on cookbook photography. It's all about flavor and texture. Discovering what you like and how to make it happen.

Of course, it doesn't always turn out well. Plenty of kitchen experiments result in unsalvageable disaster. But that's what makes the successes so sweet.


So, there's no recipe. Too much distracted kitchen experimentation and not enough writing things down.


It started with chocolate. And cream.


And tasty kitchen magic happened.


They're not the prettiest but they pack a flavor punch. And that's the important thing.


Happy Valentine's Day!

Friday, 30 November 2012

Kicking Off the Season: Old Fashioned Apple Pie


This is the season of eating. Yes, Thanksgiving is America's big day-to-get-together-with-people-you-love-and-stuff-your-faces, but really the whole Autumn-Winter season is all about cuddling up and munching on something tasty and comforting. Or at least it should be.

This is the season of fragrant spices and toasty firesides; twinkling lights to combat the early darkness and cozy sweaters to ward of the cold. It's about comfort. And what's more comforting than delicious food?


As the days get ever colder and shorter, I find myself very glad to be home, snuggled up with familiar things and free range to mess around in the kitchen. I got back home just in time for Thanksgiving after a couple months of travel. I ate delicious food in new places, I worked on a farm, feeding pigs (my absolute favorite farm animal!), I absorbed the various cultures of about half a dozen cities, and I got to spend two months with my boyfriend who lives very far away. But, despite all the fun and excitement of these adventures, there's something supremely comforting about being home for the cold weather, the cinnamon-laced cooking, and the holidays.

I actually did a surprising amount of cooking during my travels, even experienced some culinary firsts (first time baking crusty bread, first time cooking with lard) but that only made me more eager to get home and fine-tune these experiments in my home kitchen.


So, here's my kicking-off-the-holiday-season-in-my-blog-world recipe. Something delicious and comforting and spiced with the flavors of fall. Apples, cinnamon, and butter. Obviously.


It's another pie. Something fairly simple and traditional but which I'm still working on perfecting. Word on the street is that the best fat for pie dough is a 2/3 butter, 1/3 lard combo, so I've been giving it a go. Honestly, though the crust does get a little flakier with the addition of lard, what I notice most is a taste difference. Although I love the creamy taste of butter as much as the next person, the savory element introduced by the lard is much more subtle and interesting, a more delicate kind of delicious.


Pie Crust:
(this makes a double crust, halve the ingredients for a single crust)

3 cups all-purpose/plain flour
1 teaspoon salt
1 teaspoon sugar
2/3 cup unsalted butter (1 1/3 sticks, 150 grams)
1/3 cup lard (50 grams)
8-10 tablespoons cold water


Whisk together the flour, salt, and sugar. Cut in the butter and lard and mix into the flour mixture with a knife, pastry cutter, or your finger tips. When the mixture has the consistency of very course sand with a few larger, pea-sized lumps of butter, start adding the water, a couple tablespoons at a time. Gently mix the water in with a fork until the dough will hold together when lightly squeezed into a ball. It should still be fairly crumbly but will come together more when you let it rest in the fridge.

Divide the dough in half and gently shape each half into a disk (trying not to handle them too much, as over-working the dough results in a tough crust) and wrap in cling film. Refrigerate the disks for at least an hour before rolling them out. This lets them re-harden after being handled and allowed the moisture to draw the dough together a little more.

Preheat your oven to 375º F (191º C).

When you are ready to construct the pie, take one dough disk out of the fridge and roll it out on a floured surface. Use a floured rolling pin and add more flour as needed while rolling so that the dough doesn't stick to the work surface or your rolling pin. When the dough is rolled out to about 1/4" thickness, gently fold it in half, lift it into your pie pan, and unfold it.

Filling:
2 lbs apples (cored and thinly sliced)
2 tablespoons sugar
1/2 teaspoon cinnamon
pinch of salt

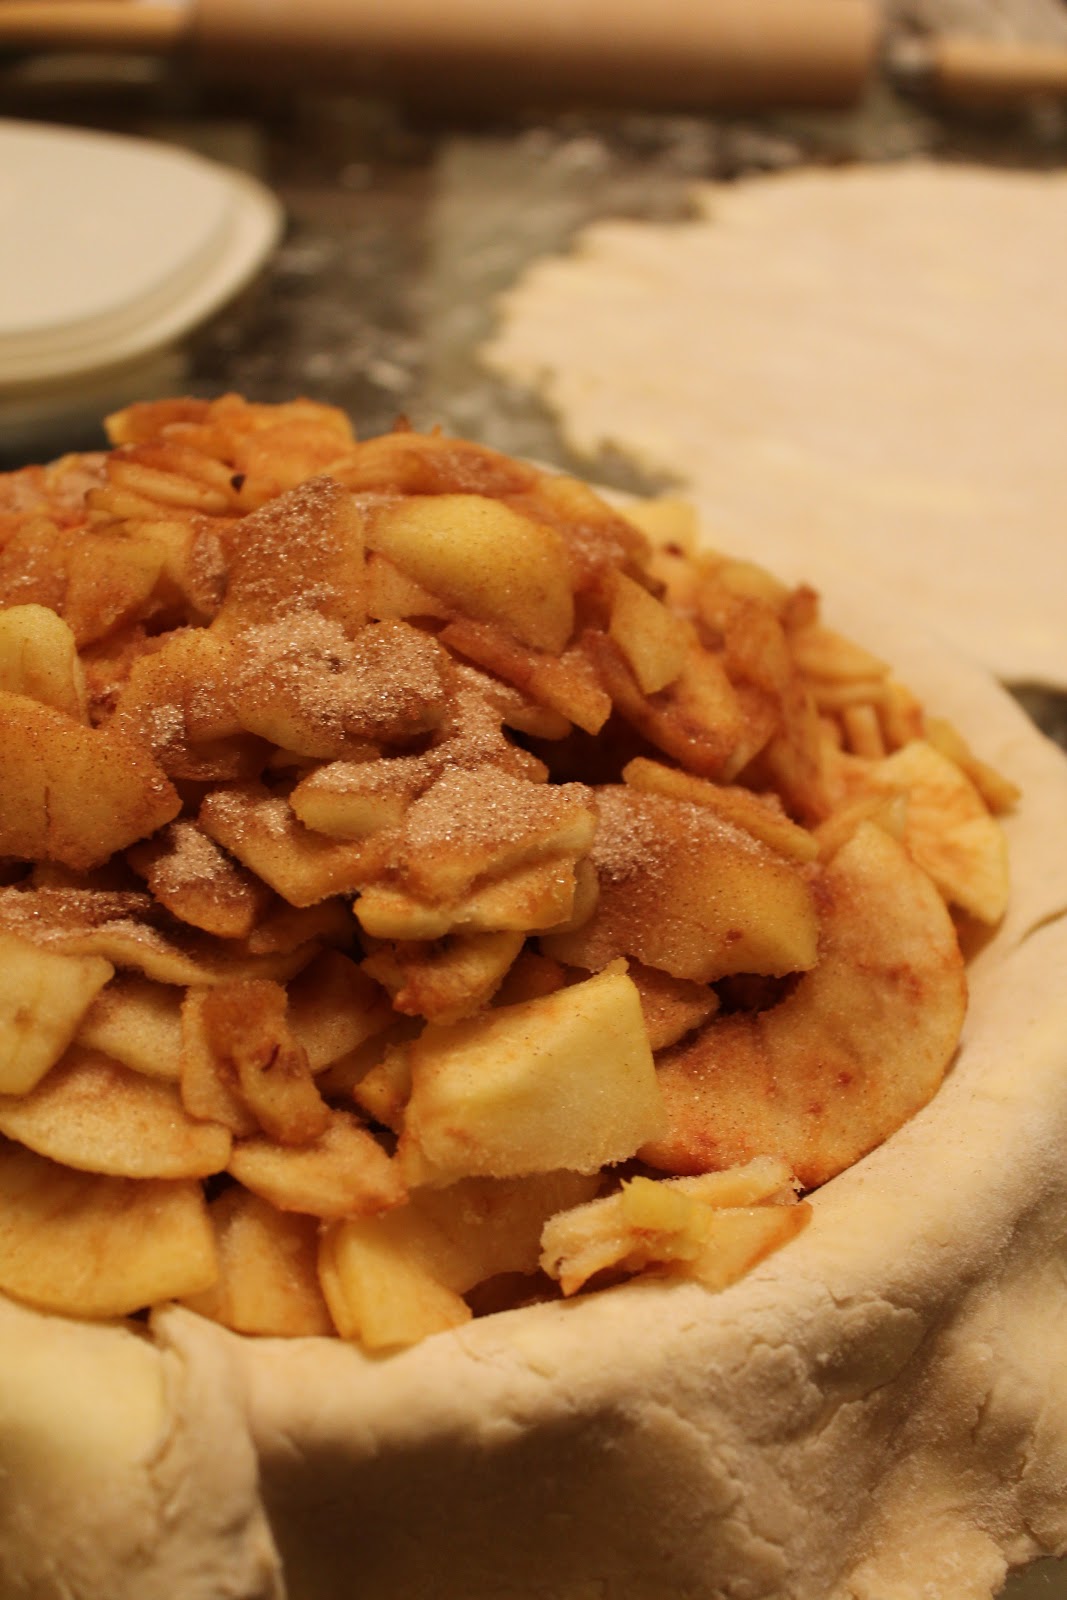
Whisk together the sugar, cinnamon, salt until thoroughly blended. Begin layering the apple slices in the bottom crust. Lay down one layer and sprinkle with the cinnamon sugar mixture and repeat until all the apple is piled in the crust. Dome the apple filling in the center slightly (this should sink somewhat during the baking).

Now roll out the second dough disk and lift that on top of your filled bottom crust. Trim the overhang of the two crusts and press them lightly together. If you want, you can crimp the crust using your forefingers and thumbs (I always think that adds a nice finishing touch!)


Before baking, make sure you cut some slits into the top crust so that steam can escape. You can also brush the top with a little milk or an egg wash or use the extra dough to make some decorations. I sprinkled mine with some Demerara sugar for extra prettiness!

Cover the pie with foil and bake at 375º F (191º C) for 20 minutes. Then remove the foil and reduce the heat to 350º F (177º C) and bake for an additional 40-50 minutes, until the crust is lightly browned. Once it is done baking, remove the pie to a cooling rack until it's no longer dangerously hot and then tuck in!

Thursday, 23 August 2012

Summer Bounty: Plum and Nectarine Pie


Sometimes stone fruit is a dream. You can slice cleanly into that juicy, fragrant flesh. It pulls smoothly away from the hard pit. The firm flesh holds the sweetness, complemented perfectly by the slight tartness of the skin.


But other times it's a nightmare. Soft fruit squelches unresistingly under the knife's edge. Errant sprays of juice squirt you in the eye. Soft skin tears and peels away from the flesh and the hard pit refuses to give up its grip on the succulent fruit.

This was one of those times...

But that's okay. Sometimes baking is a little messy. Sometimes things don't keep the shape you intended them to. You might end up with sticky fruit juice up to your elbows and a smudge of flour on your nose. And that's just fine.


This pie is like a good summer: satisfying, sweet, and a little bit messy. The pastry is buttery-flaky deliciousness and the filling is soft and full of fragrant plum and sweet nectarine.

Recipe:
Plum and Nectarine Pie

Pastry:
2 1/2 cups all purpose/plain flour
1 teaspoon salt
1 teaspoon sugar
1 cup COLD butter, cubed (two sticks or 225 g)
6-8 tablespoons cold water

Combine the flour salt and sugar. Now add the cubed butter, cutting it into the flour with a knife or a pastry blender (or pulse it in a food processor) until it has the texture of very course sand with some pea-sized lumps of butter (don't over mix it or your pastry will be tough!) Now begin adding the water, a little at a time, and lightly mix it in with a fork. Add just enough water so that the dough will hold together when pressed into a ball.

Now turn the dough onto a lightly floured surface and divide it in two (these will be your top and bottom crusts). Use your hands to lightly shape the two halves into rough disks. Wrap each disk in cling wrap and refrigerate them for at least an hour but no more than two days.

Filling:
5 nectarines
5 small plums
1/2 cups sugar
1 teaspoon vanilla
3 tablespoons flour


Thinly slice the fruit and toss together with the other ingredients.

Once your dough has chilled for at least an hour, preheat the oven to 375° F (190° C). Lightly flour your dough-rolling surface and remove one disk from the refrigerator (the other one can stay in until you're ready to roll it out and top the pie with it). Working quickly and smoothly to avoid over-working the dough, roll it out to a thickness of no more than 1/4" and at least 2 inches wider than the diameter of your pie tin. Gently lift the sheet into your pie tin (you can roll it onto the rolling pin to move it or carefully fold it in half, lift it onto the tin, and unfold it again). Trim the excess dough, leaving between 1/2 and 1 inch of overhang.

Now spoon the filling into the crust and repeat the process with the top crust. You can fold the edges of the top crust over the bottom and flute them. If you have extra scraps of dough you can cut out decorative designs to place on top (brush the bottom of each addition with a little milk before placing it on so that it will stick during baking).


Brush the top of the pie with a little milk or eggwash so it will brown nicely in the oven and you can sprinkle it with a little demerara sugar.

Cover with foil and bake in the preheated oven for 20 minutes. Then remove the foil and bake for an additonal 25-35 minutes, until the crust is lightly browned.


Friday, 10 August 2012

Banana Muffins with Streusel Topping


Did you have food obsessions as a child? I remember being addicted to carrots for a while. And I couldn't get enough of cucumber. And bananas. I definitely a special place in my heart for bananas. I loved the way they came with a natural wrapper. I loved peeling them, one section at a time. I loved the smooth, firm texture. I just hated how fast they turned brown. Sometimes after just a couple of days in the fruit bowl, brown spots would already start showing up. Somehow, as a child very fond of the familiar, I couldn't accept the change in appearance and flavor as my favorite fruits began to age. That slightly heady sweetness and steady softening repulsed me.

But things are a little different now.


Eating raw, browned bananas still isn't my favorite activity (some impressions just don't go away!) but I now know the secret joy that only over-ripe bananas can bestow. Banana bread. Banana muffins. Moist, sweet, and so, so delicious. The squishy, sickly sweetness of brown bananas elevates the humble muffin or loaf cake to glorious, scrumptious heights. And I don't have to feel bad about letting those bananas go steadily browner, uneaten on the counter.


Recipe:
Banana Muffins with Streusel Topping

1 3/4 cups all-purpose/plain flour
1 teaspoon baking powder
1/4 teaspoon baking soda
1/2 teaspoon salt
1 teaspoon cinnamon
1/2 cup (1 stick or 113 grams) butter, softened
1/2 cup brown sugar (if you like your goodies sweet, go ahead and add 3/4 cup!)
3 large, very ripe bananas, mashed (I left mine pretty chunky so there were globs of banana in the muffins when they were cooked, yum!)
2 large eggs
1 teaspoon vanilla


Preheat oven to 350° F (180° C)

Whisk together flour, baking powder, baking soda, salt, and cinnamon and set aside.

In a large bowl, cream together the butter and sugar. Stir in the bananas and then the eggs and vanilla.

Add the flour mixture, a little at a time, stirring until just combine (don't over mix).

Spoon batter into greased muffin tins, about 3/4 full.

Top with streusel topping (see this recipe)


Bake in preheated oven for about 25 minutes.

Allow muffins to cool in tins before removing to a cooling rack.