So, it was my birthday on Tuesday. I'm officially 22 now. This should be a good year, full of new beginnings. I'm a college graduate now. I have a part time job. I'm beginning the lengthy process of apartment searching. In about a week I'll be starting culinary school (yikes!) It's sort of all kicking off.
But for now I'm still having some chill days, cooking, and enjoying time with my parents (and my cats). We're actually currently working on eating more healthily but sometimes you just need a cake.
A chocolate cake. In two layers. Slathered with ganache frosting.
Well, if you're gonna have a cake, you may as well go all the way. Just don't do it too often.
This is a pretty decadent cake. Rich and fudgy and tastes like chocolate rather than sugar. Which is really what a chocolate cake should be.
Double Chocolate Layer Cake
(adapted from a recipe on epicurious.com)
3 oz. semi-sweet baker's chocolate
1 cup hot brewed coffee
2 cups + 2 tablespoons cake flour
2 teaspoons baking powder
3/4 teaspoon baking soda
1 1/4 teaspoons salt
1 1/2 cups unsweetened cocoa powder
2 cups sugar
3 eggs + 1 extra yolk
1 1/2 cups buttermilk (shaken well)
3/4 cup vegetable oil
1 teaspoon vanilla extract
Prepare two, 9" cake pans by greasing them and lining the bottoms with a greased round of wax paper.
Preheat the oven to 300º F (149º C)
Chop up the chocolate and, in a medium-sized bowl, pour the hot coffee over it. Leave it to sit, stirring occasionally, until the mixture is all melted and smooth.
Whisk together the flour, baking powder, baking soda, and salt. Whisk the cocoa powder in a measuring cup to sift it and then whisk it into the flour mixture.
In a large bowl, beat the eggs until creamy yellow and fluffy (I used an electric mixture for a couple of minutes). Beat in the buttermilk, followed by the vegetable oil and then the vanilla extract. Add the coffee/chocolate mixture, making sure to scrape any chocolate smear from the sides of the bowl (waste not!) Mix thoroughly.
Beat in the sugar and start folding in the flour/cocoa mixture, a little at a time. Mix until just combined.
Pour the batter evenly into the two cake pans and bake in the preheated oven for about an hour (until a toothpick inserted in the center of each comes out clean)
Cool in the pans for at least 15 minutes and then remove to cooling racks to cool completely.
Ice with ganache frosting and enjoy in moderation!
As does much of life, cooking sometimes happens incidentally, through a series of--occasionally unfortunate-- events. Sometimes your fridge breaks and you find yourself stuck with several pints of rapidly warming cream that you just can't let go to waste. Sometimes you end up throwing things in a pot, hoping it all works out in the end. And sometimes it does.
Cooking without a recipe can actually be one of the most relaxing and zen-like experiences. You're not bound by expectations-- fantastically unrealistic expectations based on cookbook photography. It's all about flavor and texture. Discovering what you like and how to make it happen.
Of course, it doesn't always turn out well. Plenty of kitchen experiments result in unsalvageable disaster. But that's what makes the successes so sweet.
So, there's no recipe. Too much distracted kitchen experimentation and not enough writing things down.
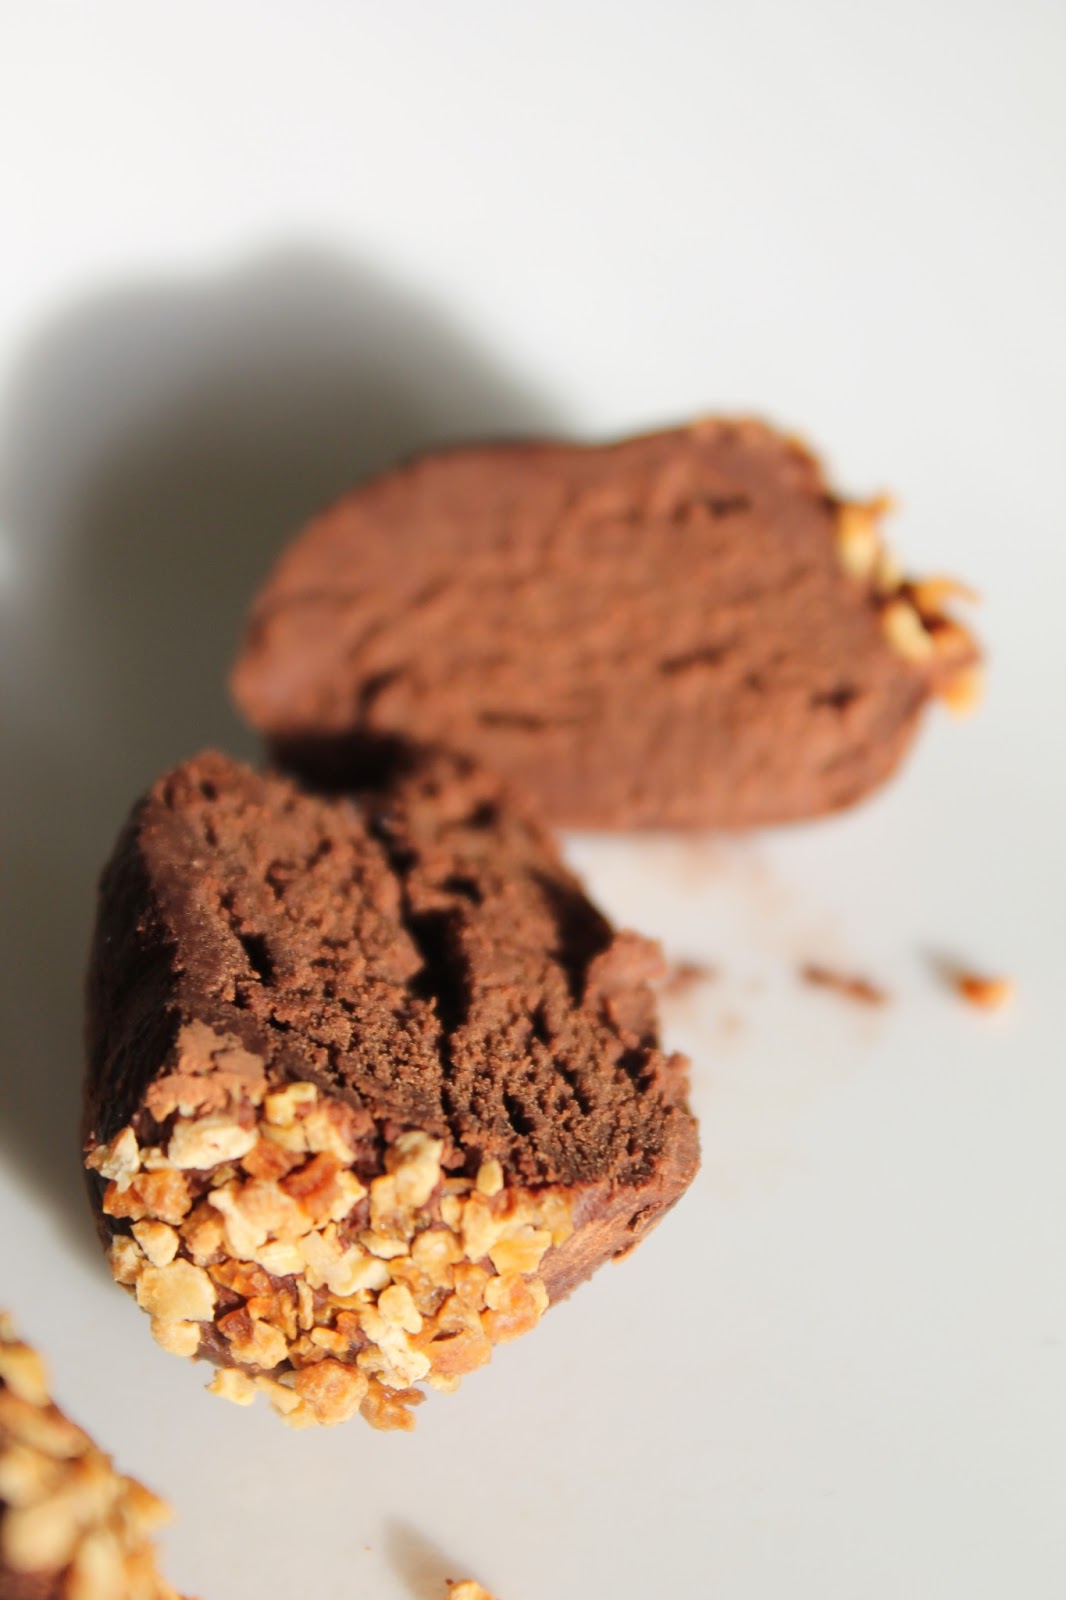
It started with chocolate. And cream.
And tasty kitchen magic happened.
They're not the prettiest but they pack a flavor punch. And that's the important thing.
Happy Valentine's Day!
This is that chocolate chip cookie recipe. You know, the one that each home baker seems to have. The go-to, in-case-of-emergency-baking-urges recipe. The recipe you use when it's 10pm and you desperately have to bake something immediately but you don't have the mental fortitude to come up with something new. The well-worn page in a recipe journal, scattered with greasy smudges and vanilla stains. That chocolate chip cookie recipe.
My go-to recipe produces light, slightly chewy cookies. My ideal blend of soft, chewy, buttery, crunchy, and satisfyingly dense. They're my stand-by for movie nights and potlucks. They satisfy my morning, afternoon, and midnight cravings. And when it's 8 o'clock and my post-dinner sweet tooth rears its head this is the recipe I turn to.
Recipe:
Chocolate Chip Cookies
1 1/2 cups flour
1/2 teaspoon salt
1/2 teaspoon baking soda
1/2 cup (113 g or 1 stick) butter, room temperature
2/3 cup lightly packed brown sugar (I used a mix of light and dark because I didn't have enough of either!)
1 egg
1 teaspoon vanilla extract
1 cup semi-sweet chocolate chips.
Preheat the oven to 350° F (177° C)
Mix together the flour, salt, and baking soda with a whisk or fork and set aside.
Cream the butter and sugar and then add the egg and vanilla. Begin adding the dry mix to the wet, a little at a time. Be sure to thoroughly combine.
Finally, fold in the chocolate chips. Stir until they are evenly distributed throughout the cookie dough.
Spoon walnut-sized scoops of dough onto a lightly greased baking tray, spaced about 1 1/2 inches apart.
Bake for 10-15 minutes or until golden brown.
Allow to cool somewhat on the baking tray before removing to a cooling rack.
Makes about two dozen cookies.
I've begun organizing my belongings in preparation for moving out (ah, the transiency of young adulthood!) In addition to navigating the world of shipping options and coming face-to-face with the amount of unnecessary stuff I own, this has necessitated a lot of recycling and throwing out. Some late spring cleaning, you could say. There's something immensely liberating about disposing of a stack of school notebooks, the contents of which I will never need. I feel refreshed!
Assessing my belongings (and their individual futures) brought me back to the original driving force behind my recent cooking: using up the edible contents of my kitchen. My cornmeal and dashi powder are not notebooks. They have a culinary purpose and they deserve a chance to fill it.
On the theme of using up the goodies in my kitchen cupboards in preparation for moving out, I realized (rather belatedly) that even the basic, everyday ingredients, like cooking oil, will have to be used up a little more quickly. A very large and frankly imposing bottle of the stuff has in fact been sitting on my kitchen counter, silently questioning my decision to purchase it so soon before leaving. But cooking oil is so vital! It casually slips into innumerable dishes, a necessity that slips under the radar. We were running low, so I bought some more. Without a second thought.
I have decided not to regret that decision. Or rather, that spur of the moment lapse of judgement. Instead, dear Mr. Vegetable Oil will inspire me to cook in different ways. I've been using too much butter lately anyway (blasphemy, I know!)
My first thought regarding vegetable oil consumption was cookies. Sure, butter gives cookies that lovely crispness, a rich, almost creamy, crunchiness. But butter is not the only way. Surely oil is a valid addition to the cookie-baker's pantry. I started with the basics: chocolate chip cookies. As it turns out, the internet is full of chocolate chip cookie recipes using vegetable oil instead of butter. Many of them seem very anxious to assure us would-be bakers that the lack of butter will not hinder the taste or texture. I choose to believe and have faith.

This recipe is fairly basic-- just about what you'd expect in a choc chip cookie recipe, minus the butter. The use of walnuts particularly appealed to me because the recipe noted that the nutty flavoring made up for the lack of butter flavor. The comparison between nutty richness and that of butter sounded somehow just right and turned out to work perfectly. To be honest, I wasn't sure I liked the taste of these cookies when they first came out of the oven. But after cooling and having some time to rest, they proved to have a lovely rich flavor from the walnuts, enhancing what might otherwise have been a somewhat dull taste.
I didn't have any chocolate chips so I just chopped up a bar of baking chocolate-- not the best quality, but I have to use it up sometime...
Here it is: using up my kitchen basics, one batch of cookies at a time!
Recipe:
No Butter Chocolate Chip Cookies
recipe from cookiemadness.net
1 1/2 cups all purpose flour
1/2 teaspoon baking soda
1/4 teaspoon salt
1/4 cup granulated sugar
1/2 cup light brown sugar
1/2 cup vegetable oil
1 egg
1 teaspoon vanilla
1 cup roughly chopped chocolate (200 grams)
1/2 cup toasted chopped walnuts
This is a pretty simple, two-bowl recipe, pretty common in cookie baking. You mix the dry ingredients and the wet ingredients separately, then combine them. Additions-- the chocolate and the walnuts, for example-- are usually added last, once the basic dough has been thoroughly combined.
Preheat the oven to 180° C (350°F)
In one bowl, sift or whisk the flour, baking soda, and salt and set aside.
In a second, large bowl, combine the sugars, oil, egg, and vanilla. Gradually stir in the flour mixture. Finally, add the chocolate and walnuts. Because this recipe uses oil, not butter, I found that the chocolate chunks didn't stick well to the slightly greasy dough, falling to the bottom of the bowl. When I spooned out the dough, I simply stuck extra chunks in the middles and tops of each scoop (keeping them off the bottoms of each scoop as much as possible helps to avoid chocolate chunks sticking to the baking tray and getting left behind when the baked cookies are removed).
Spoon the dough in heaped tablespoon-sized scoops onto an ungreased baking tray, spaced about two inches apart.
Bake for about 10 minutes (until very lightly browned). Allow to rest on the baking tray for a couple minutes before removing to a cooling rack using a spatula. Let these cookies rest a while before eating them (such a struggle, I know!) because the flavor really comes into its own after a while. It will be worth it. Honest.