Showing posts with label cookies. Show all posts

Monday, 23 July 2012

Go-To Chocolate Chip Cookies


This is that chocolate chip cookie recipe. You know, the one that each home baker seems to have. The go-to, in-case-of-emergency-baking-urges recipe. The recipe you use when it's 10pm and you desperately have to bake something immediately but you don't have the mental fortitude to come up with something new. The well-worn page in a recipe journal, scattered with greasy smudges and vanilla stains. That chocolate chip cookie recipe.


My go-to recipe produces light, slightly chewy cookies. My ideal blend of soft, chewy, buttery, crunchy, and satisfyingly dense. They're my stand-by for movie nights and potlucks. They satisfy my morning, afternoon, and midnight cravings. And when it's 8 o'clock and my post-dinner sweet tooth rears its head this is the recipe I turn to.


Recipe:
Chocolate Chip Cookies
1 1/2 cups flour
1/2 teaspoon salt
1/2 teaspoon baking soda
1/2 cup (113 g or 1 stick) butter, room temperature
2/3 cup lightly packed brown sugar (I used a mix of light and dark because I didn't have enough of either!)
1 egg
1 teaspoon vanilla extract
1 cup semi-sweet chocolate chips.


Preheat the oven to 350° F (177° C)

Mix together the flour, salt, and baking soda with a whisk or fork and set aside.


Cream the butter and sugar and then add the egg and vanilla. Begin adding the dry mix to the wet, a little at a time. Be sure to thoroughly combine.


Finally, fold in the chocolate chips. Stir until they are evenly distributed throughout the cookie dough.

Spoon walnut-sized scoops of dough onto a lightly greased baking tray, spaced about 1 1/2 inches apart.

Bake for 10-15 minutes or until golden brown.

Allow to cool somewhat on the baking tray before removing to a cooling rack.

Makes about two dozen cookies.


Saturday, 16 June 2012

More Spring Cleaning: No Butter Chocolate Chip Cookies


I've begun organizing my belongings in preparation for moving out (ah, the transiency of young adulthood!) In addition to navigating the world of shipping options and coming face-to-face with the amount of unnecessary stuff I own, this has necessitated a lot of recycling and throwing out. Some late spring cleaning, you could say. There's something immensely liberating about disposing of a stack of school notebooks, the contents of which I will never need. I feel refreshed!

Assessing my belongings (and their individual futures) brought me back to the original driving force behind my recent cooking: using up the edible contents of my kitchen. My cornmeal and dashi powder are not notebooks. They have a culinary purpose and they deserve a chance to fill it.


On the theme of using up the goodies in my kitchen cupboards in preparation for moving out, I realized (rather belatedly) that even the basic, everyday ingredients, like cooking oil, will have to be used up a little more quickly. A very large and frankly imposing bottle of the stuff has in fact been sitting on my kitchen counter, silently questioning my decision to purchase it so soon before leaving. But cooking oil is so vital! It casually slips into innumerable dishes, a necessity that slips under the radar. We were running low, so I bought some more. Without a second thought.

I have decided not to regret that decision. Or rather, that spur of the moment lapse of judgement. Instead, dear Mr. Vegetable Oil will inspire me to cook in different ways. I've been using too much butter lately anyway (blasphemy, I know!)


My first thought regarding vegetable oil consumption was cookies. Sure, butter gives cookies that lovely crispness, a rich, almost creamy, crunchiness. But butter is not the only way. Surely oil is a valid addition to the cookie-baker's pantry. I started with the basics: chocolate chip cookies. As it turns out, the internet is full of chocolate chip cookie recipes using vegetable oil instead of butter. Many of them seem very anxious to assure us would-be bakers that the lack of butter will not hinder the taste or texture. I choose to believe and have faith.


This recipe is fairly basic-- just about what you'd expect in a choc chip cookie recipe, minus the butter. The use of walnuts particularly appealed to me because the recipe noted that the nutty flavoring made up for the lack of butter flavor. The comparison between nutty richness and that of butter sounded somehow just right and turned out to work perfectly. To be honest, I wasn't sure I liked the taste of these cookies when they first came out of the oven. But after cooling and having some time to rest, they proved to have a lovely rich flavor from the walnuts, enhancing what might otherwise have been a somewhat dull taste.


I didn't have any chocolate chips so I just chopped up a bar of baking chocolate-- not the best quality, but I have to use it up sometime...


Here it is: using up my kitchen basics, one batch of cookies at a time!

Recipe:
No Butter Chocolate Chip Cookies
recipe from cookiemadness.net

1 1/2 cups all purpose flour
1/2 teaspoon baking soda
1/4 teaspoon salt
1/4 cup granulated sugar
1/2 cup light brown sugar
1/2 cup vegetable oil
1 egg
1 teaspoon vanilla
1 cup roughly chopped chocolate (200 grams)
1/2 cup toasted chopped walnuts

This is a pretty simple, two-bowl recipe, pretty common in cookie baking. You mix the dry ingredients and the wet ingredients separately, then combine them. Additions-- the chocolate and the walnuts, for example-- are usually added last, once the basic dough has been thoroughly combined.

Preheat the oven to 180° C (350°F)

In one bowl, sift or whisk the flour, baking soda, and salt and set aside.

In a second, large bowl, combine the sugars, oil, egg, and vanilla. Gradually stir in the flour mixture. Finally, add the chocolate and walnuts. Because this recipe uses oil, not butter, I found that the chocolate chunks didn't stick well to the slightly greasy dough, falling to the bottom of the bowl. When I spooned out the dough, I simply stuck extra chunks in the middles and tops of each scoop (keeping them off the bottoms of each scoop as much as possible helps to avoid chocolate chunks sticking to the baking tray and getting left behind when the baked cookies are removed).

Spoon the dough in heaped tablespoon-sized scoops onto an ungreased baking tray, spaced about two inches apart.

Bake for about 10 minutes (until very lightly browned). Allow to rest on the baking tray for a couple minutes before removing to a cooling rack using a spatula. Let these cookies rest a while before eating them (such a struggle, I know!) because the flavor really comes into its own after a while. It will be worth it. Honest.

Sunday, 27 May 2012

Beating the Heat: Soft Snickerdoodles

It is one of life's cruel twists that even though a hot day is quite possibly the worst kind on which to do baking (read, raise the temperature of the whole house and make hot food), the high temperature actually makes it so much easier. Two words: creaming butter.

In the depths of winter, when my baking cravings have taken over completely, making me long to fill the chilled house with warm, wafting aromas, the dang butter has frozen solid. In my student house in which we infrequently use heating because we are poor, when I say "solid" I genuinely mean it. Just-out-of-the-freezer solid. Could-be-used-as-a-dangerous-weapon-or-building-material solid. It's a problem.

As much as I value the workout for my arm muscles, sometimes I don't want to beat my ingredients into submission, working up a sweat and feeling like Rosie the Riveter (though considerably less calm and collected). Sometimes I just want a zen-like blending experience, bringing sweet and oily together in tranquil bliss. Despite the 1950s cupcake-making-housewife stereotype, that is generally not the baking way. But. On a hot day, with a softened pat of butter and a granulated cascade of white sugar, that's exactly what I knew I'd get.


Mm, so creamy and malleable. This is the good life.

So, armed with a glass of lemon iced tea and a souvenir fan from the French Riviera (an appropriate nod to the uncharacteristically Mediterranean weather we've been having. It's May in England, for goodness sake!), I set to whipping up the most simple of sweet treats: the humble snickerdoodle.


To be honest, I've never been particular fond of these guys. Sugar cookies coated in cinnamon sugar, there's genuinely nothing not to like about them but, somehow, in my extreme youth I seem to have irrationally taken against them (as I once did with zucchini, brussels sprouts, and tea). Well, armed with some very soft butter and a hankering for cinnamon, I decided that this nonsense has to stop. I've long since left behind the age when knee-jerk dislikes are even moderately acceptable. The snickerdoodle might not be the most adventurous of culinary delights but there's certainly nothing wrong with it. Unless you don't like cinnamon. Or sugar. Or cookies, for that matter.

So here it is, simple, sweet, and deliciously soft:

Recipe:
Soft Snickerdoodles
225 grams butter
1 1/2 cups sugar
2 eggs
2 3/4 cups flour
3 teaspoons baking powder
1/4 teaspoon salt
3 teaspoons cinnamon
3 tablespoons sugar

Preheat the oven to 180º C (350º F)

Whisk together the flour, baking powder and salt and set aside. Cream together the butter and sugar until smooth. Add the eggs and combine thoroughly, until the mixture is a pale yellow. Gradually add the flour mixture, a little at a time, combining thoroughly (there's a lot of flour so this could take a while as it did for me!) The dough should be pretty stiff now (great arm workout!)


(And that spoon can be passed on to any deserving parties/kitchen hoverers in the vicinity!)

Chill the dough and the baking tray you're going to use in the fridge for about 15 minutes (it was such a hot day that I left it there for longer)

Combine the cinnamon and additional sugar on a plate for rolling the cookie dough balls in.


 Ah, that makes me think of fresh, cinnamon-y Elephant Ears. The tasty, tasty calories!


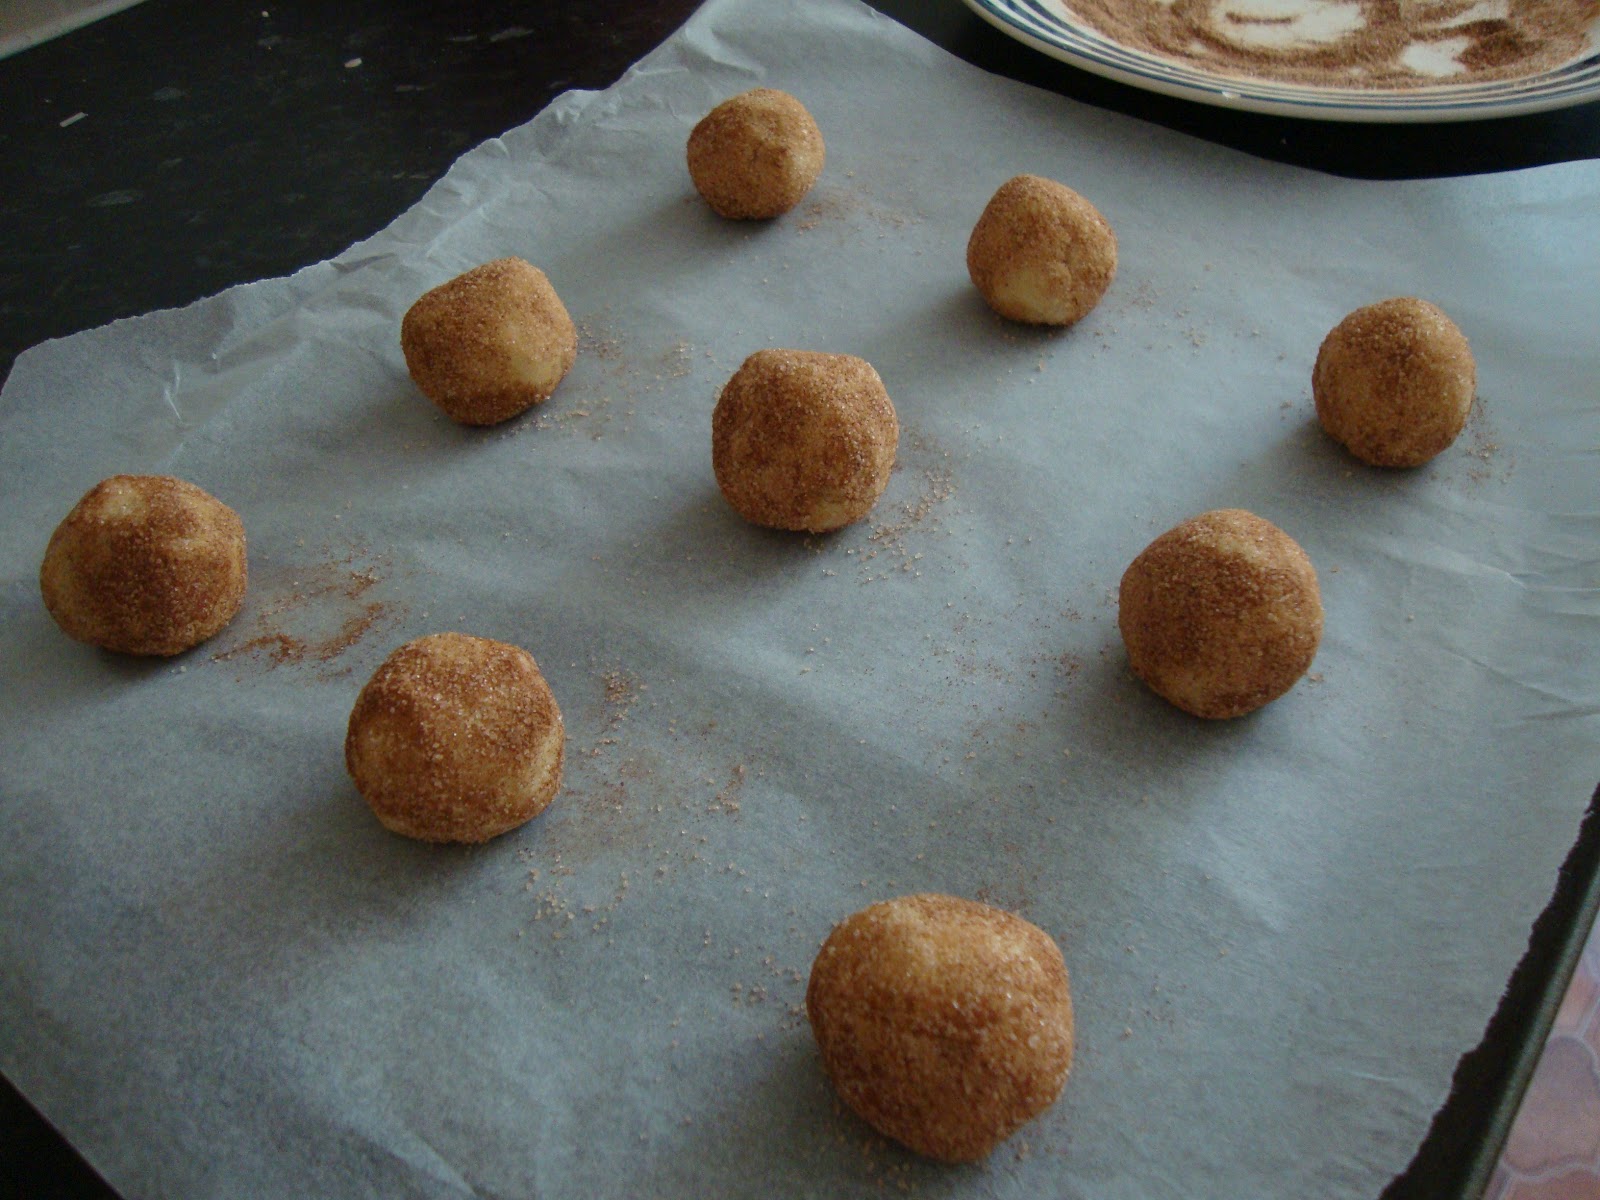
When the dough is done chilling, remove from fridge and scoop out walnut sized balls (they'll need to be spaced a couple inches apart on the baking tray) and roll each ball in the cinnamon sugar until it's thoroughly coated. Just like little sugar-dusted doughnut holes.


Bake for 10 minutes and remove immediately from the tray to a cooling rack.

I used a parchment paper-lined tray to minimize the mess (yes, cinnamon sugar will try to get everywhere) and because it makes it easier to whisk the cookies off the tray when they're done. You don't want to leave them on the hot tray too long or they'll overcook and won't be soft and chewy anymore.


When my cookies came out of the oven they were all puffed up in the middle. They were cute but I wanted a more even, flattened look so I pressed each one flat with a fork as they came out. I probably could have done that before they went in but it was actually more satisfying when they were warm and a little crispy (even if some of the edges cracked because I'm clumsy...)


I got three dozen cookies out of this recipe (oh lord, so much eating/foisting off on other people to do!) Stored in an airtight container they keep their chewy soft gloriousness