

Also, I love pasta. Love it. It's a vehicle for so much yumminess: cheese sauces, tomato, lasagna, fillings, soups. It's versatile, slightly chewy, and leaves you comfortingly full.
Therein lies the problem: I love pasta and I just effectively ruined myself for the store-bought stuff for the foreseeable future. I mean it. Homemade is just that good. The starchy, thick noodles from a plastic package just won't do it for me anymore. I've had fresh pasta from the store before-- the kind that screams at you to cook it the day you buy it-- so I had some warning of what was coming. Fresh pasta is definitely a very different kettle of fish from its dried out, cupboard-friendly cousin.

The second attempt went much better. No rushing. A little TLC for the dough. It was much more relaxing and the result was worlds better. Worlds. In fact, I took a bit of my first ravioli, lightly coated in sage-y butter sauce, and had to just pause as the delicate flavors layered, one on top the other, thinking "wow, I made this". Delicious.

Butternut squash and sage are a classic (and very tasty) combination and my ravioli searches on the Internets suggested that brown butter and sage were the way to go. Who am I to question to the wisdom of the masses? I've never actually browned butter before. I've seen innumerable mentions of the technique in the blogosphere, referring to its nutty qualities and depth of flavor. Oh lord were they right! Browning the butter brings out layers of flavor, entirely unlike its usual simple, creamy richness. Laced with sage and garnished with Parmesan, the brown butter sauce accompanied the lightly-spiced sweetness of the butternut squash to perfection. Pause-and-rapturously-contemplate-what-you-just-put-in-your-mouth perfection. I daresay there are worse ways I could have ruined myself for dried pasta.

Make this. Coax the dough into perfect smoothness and thinness. Give it care and attention. Love it. You won't be sorry.

Recipe:
Butternut squash filling
1 small butternut squash
salt and pepper for seasoning
pinch of nutmeg
2 teaspoons creme fraiche
Cut the squash in half lengthwise and remove the seeds. Place the halves in a baking dish and season with salt and pepper. Roast for about 40 minutes at 200° C (390° F), or until soft (you'll be able to tell by stabbing it with a knife/fork to test its doneness, you want it to be soft enough to mash without too much effort). Allow the cooked squash to cool and then peel/scrape out the insides. I mashed the cooked squash by hand, using a fork, because I don't have a food processor or anything equally fancy. Using one would result in a much smoother filling, definitely a plus. But, even if I did have one, I have a feeling I wouldn't have used it because there's so little squash involved and the clean-up would be a hassle!

You can make this in advance and refrigerate it. I imagine it would last a couple days, but I probably wouldn't leave it for much longer.
Egg Pasta Dough
from this recipe
1 2/3 cups all-purpose flour (the ideal is to use "00" flour but I do not possess such fancy ingredients and it turned out that all-purpose worked pretty darn well!)
2 eggs
1 tablespoon olive oil
pinch of salt
Yields about 20 ravioli (and can be used for all your other pasta needs!)
Sift the flour (or whisk some air into it in a bowl) and tip it out onto a clean surface. Form a well in the flour using your fists and crack in the eggs and add the olive oil and salt. My well was a little too small on my first attempt so the mixing process got a tad messy. Not the end of the world, but a bit annoying.
Start mixing the dough by gently stirring the eggs with your fingers tips, gradually mixing in the flour until it's firm enough to start kneading. This will take some time and it will get messy. You have been warned.

The dough gets pretty stiff as you add all the flour, but you have to keep kneading for several (2-5) minutes in order to thoroughly incorporate all the ingredients. Once you've kneaded long enough, the dough will no longer be dry and grainy but have a smoother, uniform texture. When it's reached this state, brush the dough with olive oil, place it in a plastic bag or cling film, and set aside for at least 30 minutes. I won't even begin to claim expertise in the realm of pasta-making, but my limited research on The Google suggests that letting the dough rest is vital in pasta-making because it allows the gluten in the flour to relax, making the dough more elastic. That's how I understand it, anyway!
Rolling out the dough can go one of two ways depending on if you have a fancy-and-only-slightly-pricey item of kitchen equipment: the Pasta Machine. If you do, rolling out an evenly paper-thin sheet of pasta-- and even slicing it into perfectly uniform ribbons if you want-- is as easy as a dream. I do not own a pasta machine. I have a rolling pin. The good news is, apart from the need for a little more time and effort, it doesn't really matter. Surely Italian mammas made do without fancy equipment for generations of home pasta-making. And so can I.
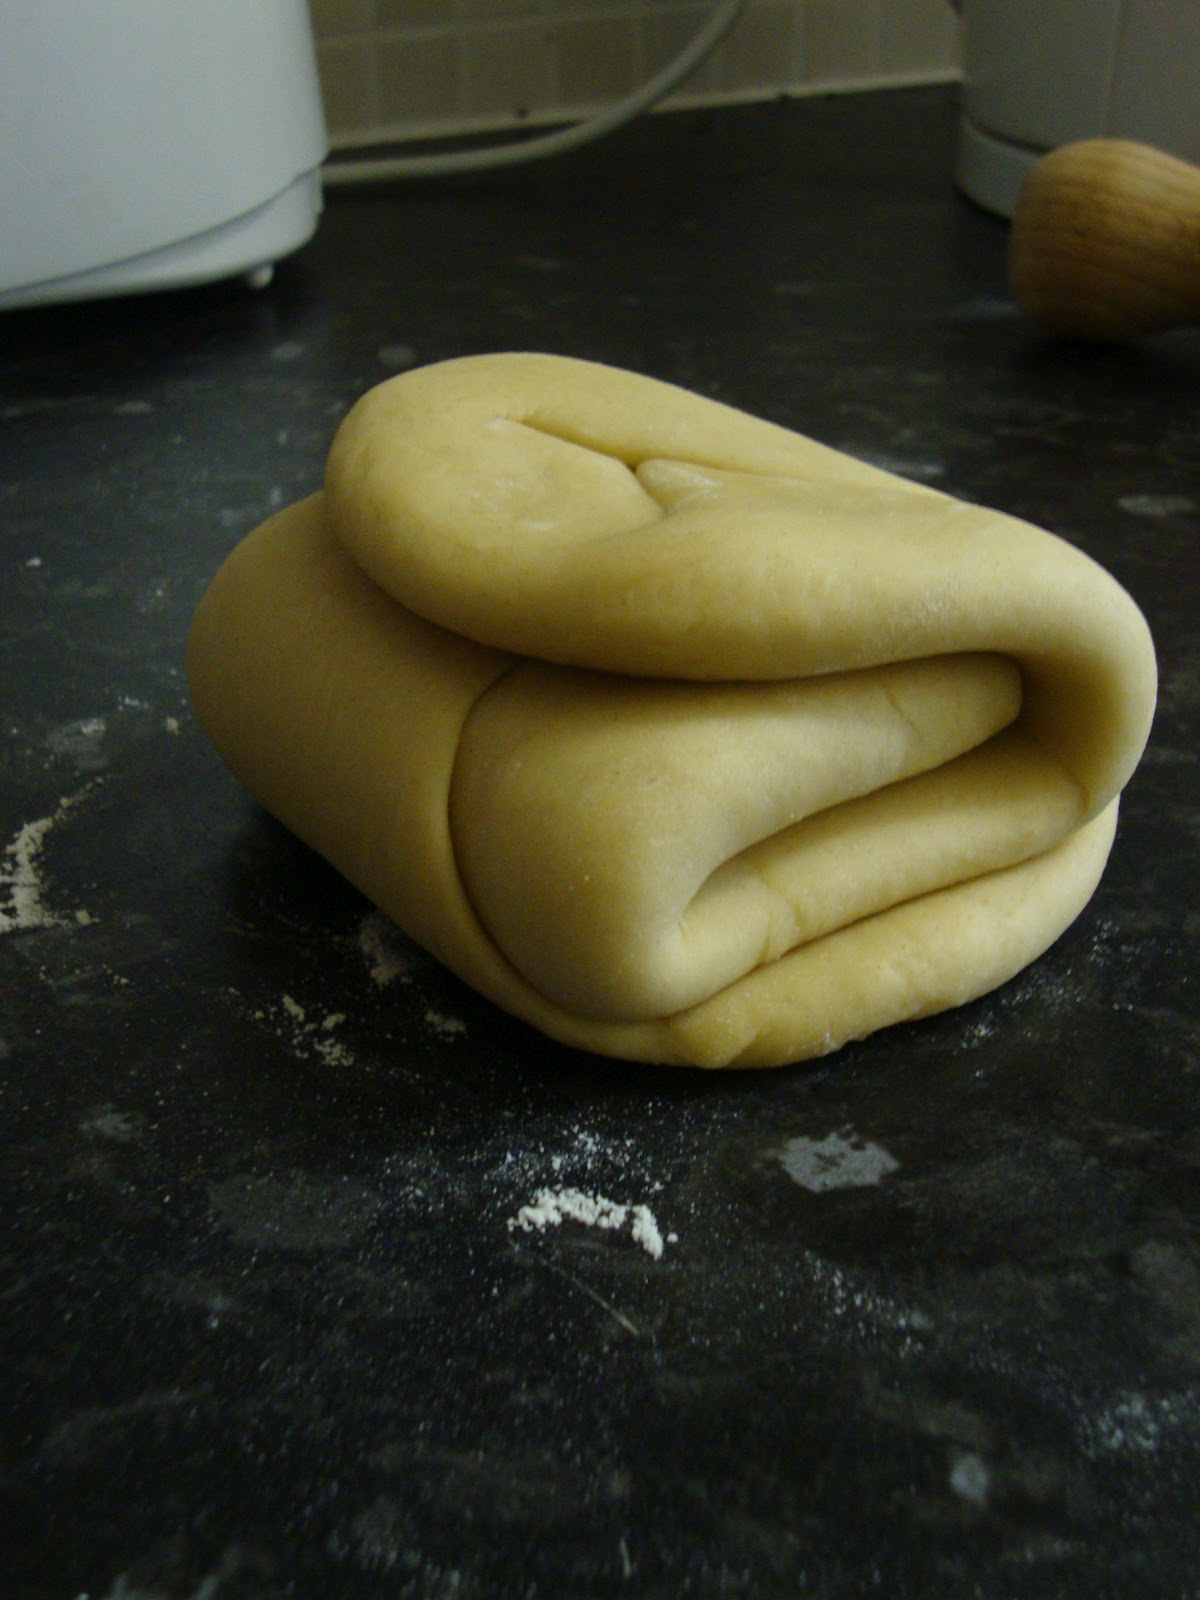
To start with, you roll the dough out a few times on a very lightly floured surface to knead it, ensuring a smoother pasta texture. Simply start by rolling it out thickly, folding it into thirds, and rolling it out again. Repeat this process a few time. You should start to get a semi rectangular chunk of dough (though mine was pretty misshapen due to my clumsiness!)
Now, for the final rolling out, divide the dough in half. These will be the top and bottom sheets of your ravioli (with all this rambling about gluten and rolling, I almost forgot what the recipe is for!) Wrap one half in a damp dishtowel while you work with the other so that it doesn't dry out. The rolling part is pretty self explanatory. Use long strokes, pushing outward from the center and try to get a uniform thickness (you can hold the sheet up to the light to get a proper sense of variations in thickness or just how thin it is in general). To be honest, I'm not sure exactly how thin my pasta sheet was. About 1/8" perhaps. I judged more on how much the light came through when I held it up. Once there were no longer any dark shadows revealing thicker sections, I decided it was thin enough. Keep in mind that this is for ravioli so the dough will be sandwiched, and therefor twice as thick, when you cook it. You don't want fat, flabby ravioli. The thinner the better! Roll the second half to the same thickness (keeping the rolled out sheet covered by the damp towel)

Now carefully lay the second sheet of pasta over the first. Press down around each dollop of filling, pressing out the air and sealing the pasta layers around them. Once you've done this with each ravioli-to-be, carefully cut them out with a knife or a pizza roller. As a final touch, I pressed all the edges of my ravioli with a fork. They were a little uneven and sloppy looking so I thought this covered up some of their deficiencies. When I have a round cookie cutter, my ravioli will be prettier!

To cook the ravioli, bring a large pot of heavily salted water to a boil and add the pasta. Cook them for several minutes, stirring occasionally so they don't stick. Cook time obviously depends on the size/thickness of the ravioli. Mine took about 7 minutes. I tested one by trimming a bit off the edge and tasting it. Once they were no longer crunchy/too firm in the center, the noodles were done.
If you're not adding them to sauce or serving them immediately, let the ravioli dry on a damp dishtowel. You can refrigerate them once they've dried and cooled. Obviously, they're best served immediately after cooking but we all know that meals don't always work out that way!
Brown Butter and Sage Sauce
2 tablespoons butter
3/4 teaspoon dried sage (I confess to using dried, not fresh herbs for this, shameful, I know! Fresh would doubtless be much better!)
1/2 teaspoon salt
This is really more of a drizzle or a dressing than a sauce. It just needs to coat each ravioli, not form a buttery puddle on your plate!
Brown the butter in a hot pan at a medium heat, stirring occasionally and keeping an eye on it so it doesn't burn. Sprinkle in the dried sage and salt and blend thoroughly. Let the sage soak up the butter and the flavors to settle, off the heat.
When you're ready to add the pasta, slowly reheat and put the just-cooked pasta in the pan with the sauce, thoroughly coat, and turn out on a plate. Sprinkle some Parmesan shavings on top and serve!
No comments:
Post a Comment